Help:Asset Guidelines
These guidelines are here to help ensure there is consistency across assets being uploaded.
Generally speaking, we do not use dashes. File names should be with spaces/underscores.
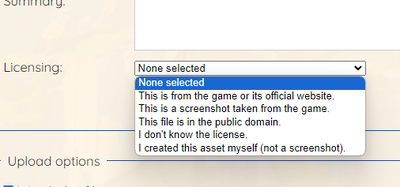
All files uploaded must have a license attribution. Files without one may be subject to removal.
Adding Licensing to Files
If using the Upload file option, make sure to select the appropriate drop-down.
If using MSUpload (uploading within the editor), it will need to be added retroactively.
- Step 1: Locate the file's page. For example, https://palia.wiki.gg/wiki/File:Ashura.png
- Step 2: Click Edit.
- Step 3: Add in the appropriate template.
- Screenshot: {{Copyright/screenshot}}
- Game File/Official Artwork: {{Copyright/game}}
- All others can be found Category:Copyright templates
- Step 4: Click save and check the right attribution is visible on the page!
Images
| Asset | Naming Convention | File Type | Dimensions (px) | Example |
|---|---|---|---|---|
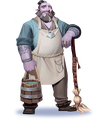
| Villager Full Body | VillagerName | .png | Ashura.png | |
| Villager Screenshot | VillagerName_Ingame | .png | Auni Ingame.png | |
| Villager Schedule Map Location | See Villager Schedule | .png | 480 x 480 | |
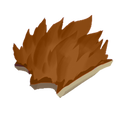
| Game Icon | Item_Name | .png | 256 x 256, 128 x 128 | Common Blue Butterfly.png |
| Game Model | Item_Name_Ingame | .png | Copper Axe Ingame.png | |
| Treasure Chest Model | See Treasure Chests Section | .png | 256 x 256 | |
| Treasure Chest Location | See Treasure Chests Section | .png | 480 x 480 | LakeRuinsChest.png |
Screenshots
Screenshots taken using the in-game camera can be found under %LOCALAPPDATA%/Palia/Saved/Screenshots.
Generally speaking, screenshots should:
- Be taken using the best possible graphical settings of the game.
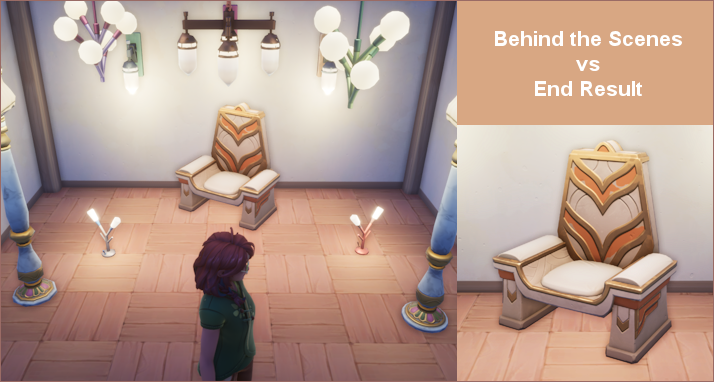
- Be taken at an angle that best showcases the object (ideally a clear frontal shot)
- Be mindful of lighting; avoid shadows, glows, and other effects that detract from or obscure the focus of the image.
Treasure Chests
Screenshots of the chest locations should be using the Map feature with your character's pinpoint visible in the shot.
General Advice:
- Zoom in all the way to get the highest quality version of the map.
- The Player arrow does not need to be centered; while this might look the prettiest, it's not always helpful to players in figuring out exactly where on the map the chest is located.
- Whenever possible, crop the screenshot to show easily identifiable markers / buildings / names.
- Whenever possible, avoid including NPC portraits in screenshots.
- Do not partially cut off any location names or location markers.
Modded Furniture Pieces
As furniture pieces are able to be dyed in the game using the Modification Bench, here are some quick guidelines on the method to upload assets. Generally speaking, they follow the same convention under the "Game Models" umbrella term as described above.
- Volunteers have been assigned to take on capturing screenshots on a per-set basis. This is to retain consistency when it comes to angle, lighting, and other factors.
- If you wish to help out because you see a missing set, please join the Discord server and claim your Wiki Editor role!
- Size: 256 x 256 px
- File name: FurnitureName CustomizationColor Ingame.png
- Example: Log Cabin Dining Chair Autumn Ingame.png
Villager Schedules
TBD


